
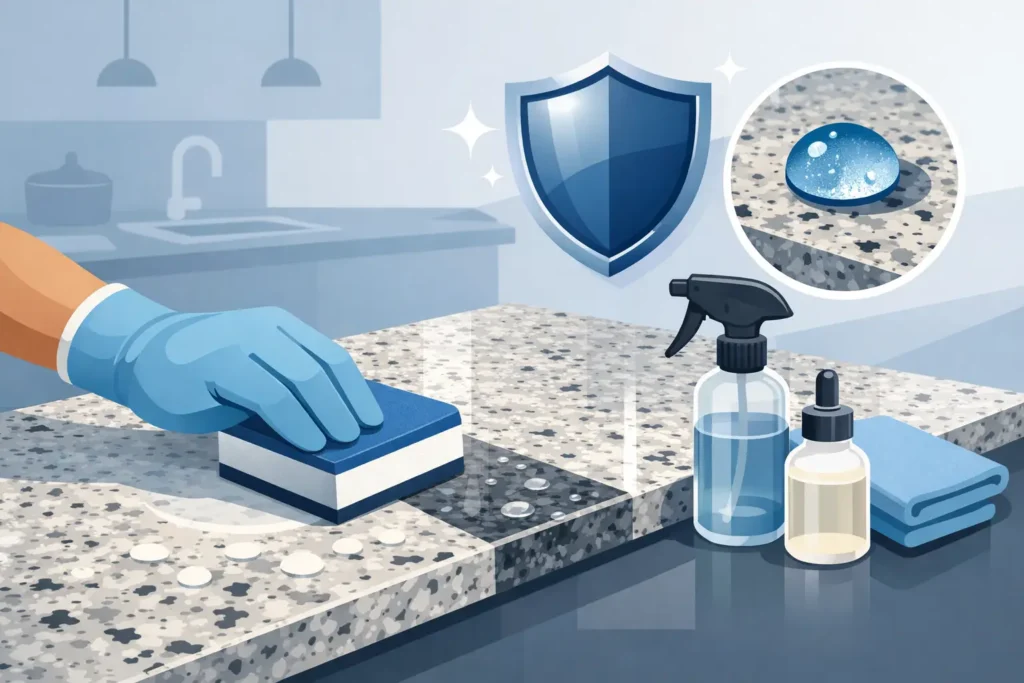
Granite looks tough because it is tough, but that does not mean it is maintenance-free. If you are wondering how to seal granite countertops, the good news is that the job is usually simple, quick, and very doable for a homeowner – as long as you use the right product and do not rush it.
The part that trips people up is not the sealer itself. It is figuring out whether the granite actually needs sealing, how much product to use, and how long to leave it on before wiping it off. Get those parts wrong and you can end up with a hazy surface, wasted product, or a countertop that still absorbs water and oil.
How to Seal Granite Countertops Without the Guesswork
Start with a clean, dry countertop. That sounds obvious, but it matters more than people think. If there is grease near the cooktop, soap film around the sink, or leftover cleaner on the surface, the sealer will not bond the way it should.
Clean the granite with a stone-safe cleaner and a soft cloth. Avoid vinegar, bleach, ammonia, or anything abrasive. If you have been using general household cleaners, wipe the tops down thoroughly and let them dry completely before you do anything else. In most homes, waiting until the next day after cleaning is the safest move.
Once the stone is dry, test a small area with a few drops of water. Let the water sit for about 10 to 15 minutes. If the stone darkens underneath, it is absorbing moisture and likely needs sealing. If the water beads up and the color does not change, the countertop may still be adequately sealed.
When it is time to apply sealer, use a granite sealer made for natural stone countertops. Follow the label because not every product works exactly the same way. In general, you spray or pour a small amount onto the surface, spread it evenly with a clean cloth or applicator pad, and let it sit for the recommended dwell time. That is usually just a few minutes.
After that, wipe off all excess sealer with a dry microfiber cloth. This is the step people skip, and it causes most of the problems. Sealer is not like a finish that should dry in a visible layer. Granite sealer is meant to soak in and protect from within. Anything left sitting on top can turn sticky or cloudy.
If the label recommends a second coat, apply it only after the first one has had time to penetrate. Then buff the surface well until it feels clean and dry, not slick.
What Granite Sealer Actually Does
A lot of homeowners assume sealer makes granite stain-proof. It does not. It makes the stone more resistant to stains by slowing down how fast liquids soak in.
That matters in real kitchens. Coffee, cooking oil, red wine, tomato sauce, and even plain water can leave marks if they sit long enough on unsealed or lightly sealed stone. Sealer buys you time. It does not replace wiping up spills.
It also does not make granite shiny. The shine comes from polishing during fabrication, not from the sealer. So if you are hoping a sealer will fix dullness, etching, or wear around the sink, that is a different issue.
How Often Should You Seal Granite?
This is where the internet gets messy. Some people say every year no matter what. Others say every five years. The honest answer is that it depends on the stone, the finish, the color, and how the kitchen gets used.
Some dense granites barely absorb anything and may go years before needing attention. Other lighter or more porous stones need sealing more regularly. Honed granite can also behave differently than polished granite. A busy family kitchen in Carmel or Fishers where the counters see daily cooking will usually need more attention than a guest kitchenette in an office or rental.
The water test is more useful than the calendar. If water stops beading and starts darkening the stone, it is time to reseal. For many homes, that falls somewhere around every one to three years.
If you just had countertops installed, ask whether they were sealed during fabrication or installation. Many are, but not all. There is no benefit to repeatedly applying sealer if the stone does not need it.
Mistakes to Avoid When Sealing Granite Countertops
The biggest mistake is using the wrong cleaner before sealing. Residue from harsh cleaners can interfere with absorption, and acidic products can damage certain natural stone surfaces over time.
The second is overapplying sealer. More is not better. If the granite absorbs what it needs in a few minutes, flooding the surface with extra product does not add protection. It just makes cleanup harder.
Another common mistake is not wiping off the excess completely. If your countertop looks streaky after sealing, that is usually the reason. In many cases, the fix is applying a little more of the same sealer to reactivate the residue, then buffing it off properly before it dries again.
People also make the mistake of sealing stained granite. If there is already a dark oil spot or discoloration in the stone, sealing over it can trap the issue in place. Stains should be treated first, then the stone should be sealed after the area is fully dry.
And finally, do not assume every stone countertop needs the same care. Quartz is not granite. Quartz usually does not need sealing at all. We run into this confusion all the time when homeowners are comparing materials or moving into a house and are not sure what they have.
Choosing the Right Sealer
You do not need the most expensive bottle on the shelf, but you do need a product made specifically for natural stone. Look for a penetrating or impregnating sealer intended for granite countertops.
Some sealers are water-based, and some are solvent-based. For most homeowners, the main concern is using a reputable stone-safe product and following the instructions exactly. If your granite is in a food prep area, make sure the product is appropriate for that use once cured.
Do not use topical coatings unless a stone professional specifically recommends one for a unique situation. Most granite countertops perform best with penetrating sealers that protect below the surface while leaving the natural look alone.
When DIY Makes Sense and When It Does Not
For a standard kitchen countertop in good shape, sealing is a reasonable DIY project. It does not require specialty tools, and most homeowners can handle it in under an hour once the surface is clean and dry.
Where people should slow down is when the stone has problems beyond normal wear. If you are dealing with deep stains, cloudy buildup, rough areas around the sink, or you are not even sure whether the material is granite, it may be worth having it looked at before you start experimenting.
The same goes for large kitchens, investment properties on a tight turn, or commercial spaces where you do not want downtime or callbacks. In those cases, paying for resealing service can save time and avoid do-overs.
At Granite Networks Indy, we talk to a lot of homeowners across Indianapolis who are trying to decide whether they need a new countertop, a reseal, or just better maintenance habits. Sometimes the fix is simple. Sometimes the stone is telling you it needs more than a bottle of sealer.
How to Seal Granite Countertops and Keep Them Looking Good Longer
Once the countertop is sealed, maintenance gets easier, but not automatic. Use a pH-balanced stone cleaner or a little warm water with a soft cloth for everyday wipe-downs. Clean spills quickly, especially oil, wine, citrus, and sauces with strong color.
Try not to let water pool around the faucet or sink cutout. Granite is durable, but constant moisture in one area can wear on sealer faster. Using trivets, cutting boards, and wiping up messes right away goes a long way.
If you are the kind of homeowner who wants the kitchen to look good without babysitting every surface, granite is still a solid choice. It just needs occasional care. That is the trade-off. You get a natural stone with real character and durability, but you also need to respect the fact that it is natural, not plastic.
A properly sealed granite top should feel easy to live with. Water should bead. Everyday messes should wipe up without drama. And if yours is not doing that anymore, the answer is usually not complicated. Test it, seal it the right way, and if something still seems off, get a stone pro involved before a small issue turns into a bigger one.